Bathrooms present the highest concentration of slip hazards in a home due to the combination of hard surfaces, water, soap film, and frequent posture changes. Stepping into or out of a shower requires a person to balance on one leg while shifting their center of gravity across an elevated barrier, often onto a slick floor. When moisture settles on non-porous polished tile or acrylic, the surface loses friction rapidly, turning routine hygiene into a potential hazard.
Remediating these risks does not require a full structural remodel. By methodically identifying friction loss, reinforcing support structures, and managing floor transitions, you can create a secure environment that accommodates changing mobility needs. This guide outlines practical, measurable modifications to secure wet zones, select appropriate hardware, and maintain floor surfaces for long-term stability.
Identifying Wet-Zone Fall Hazards Around the Tub
The primary hazard zone in any bathroom extends roughly 24 to 36 inches outward from the bathtub rim or shower curb. This wet zone receives the highest concentration of indirect overspray and direct water dripping from the body. Standard porcelain and acrylic tubs have a slick finish with a very low coefficient of friction when wet, meaning that feet easily slide out from under a person if lateral force is applied.
Tub entry and exit require negotiating a rim that typically stands between 14 and 19 inches high. Lifting one foot over this threshold forces the body to balance its full weight on a wet surface inside the basin. If the bather attempts to steady themselves by reaching for a curtain, an unstable towel rail, or a slippery vanity edge, the risk of a fall increases significantly. These items are rarely anchored to carry dynamic human weight.
Poor lighting around the shower curtain or glass enclosure compounds the danger. Shadows cast into the tub basin obscure pooling water, spilled shampoo, and the exact position of the floor surface. To properly assess your wet zone, observe how water travels outside the enclosure during a normal shower, note where droplets land, and mark the exact paths individuals take when reaching for towels.
- Inspect the tub basin for hairline cracks or slick worn spots in older enamel where factory-applied textures have degraded.
- Check whether the shower curtain liner billows outward, allowing water to channel down the outside of the tub wall and pool on the floor.
- Assess the reach distance from inside the tub to the towel rack, noting whether an individual must lean across the rim to grab a towel before stepping out.
- Examine the stability of vanity corners and fixtures within three feet of the tub, identifying objects that might be grabbed instinctively during an unexpected slip.
Evaluating Suction Mounts Versus Wall-Anchored Bars
Temporary suction-cup bars are widely marketed for their ease of installation, but they carry distinct mechanical limitations. A suction mount depends entirely on a continuous vacuum seal against an airtight, completely smooth surface such as glass or untextured ceramic tile. Over days and weeks, microscopic air leaks, thermal expansion from hot water, and moisture infiltration degrade this seal. Suction bars can release without warning, particularly when subjected to sudden, downward shear forces during a fall.
In contrast, wall-anchored grab bars provide dependable structural support. When secured into wall studs using corrosion-resistant stainless steel wood screws, a standard grab bar can support at least 250 pounds of static force, satisfying residential accessibility standards. Where wall studs are not located precisely where support is needed, specialized hollow-wall anchoring systems can be installed through tile, backer board, and drywall to achieve equivalent load ratings.
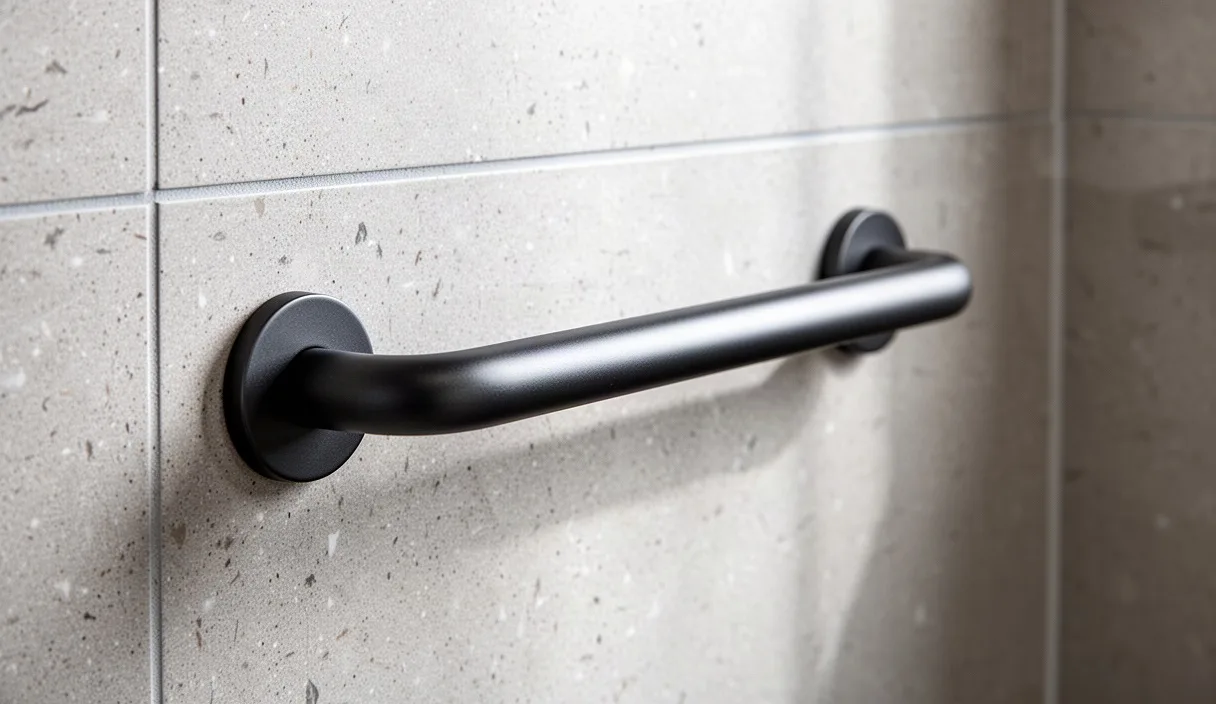
If you choose to install wall-anchored bars, select models with a textured or peened finish. Smooth chrome finishes become slippery when gripped with soapy hands. The diameter of the bar should measure between 1.25 inches and 1.5 inches to allow a secure grip without forcing the fingers into an overextended position. Maintain a 1.5-inch clearance between the bar and the wall surface to prevent a person's forearm from slipping behind the bar and becoming trapped in a fall.
| Feature | Suction-Mounted Bars | Wall-Anchored Bars |
|---|---|---|
| Load Capacity | Typically 60 to 85 pounds of pulling force | Rated for 250 to 500 pounds of direct force |
| Mounting Surface | Flat, smooth, non-porous tile only | Wood studs, concrete, or reinforced drywall |
| Grout Line Tolerance | Zero tolerance; cannot bridge grout seams | Can bridge grout joints freely |
| Inspection Schedule | Must be tested before every use | Visual check and torque check annually |
| Reliability Factor | Prone to sudden vacuum failure | Mechanically fixed; structural stability |
For installations into drywall or tile where no stud is present, use heavy-duty toggle anchors or hollow-core mounting plates designed specifically for grab bars. Never use plastic expansion plugs or light-duty drywall anchors. If the existing wall assembly feels soft or yields under moderate pressure, stop work immediately and consult a licensed carpenter or general contractor to inspect the underlying wall framing for hidden water damage.
Non-Slip Floor Coatings and Drainage Mats Compared
Flooring performance in a bathroom is measured by its Dynamic Coefficient of Friction, or DCOF. According to the ANSI A326.3 standard, interior floor surfaces expected to get wet should achieve a minimum DCOF of 0.42. Many polished marble, porcelain, and glazed ceramic tiles drop below 0.30 when covered with a thin film of water. Homeowners have two practical paths to improve traction: applying chemical treatments to the existing floor or placing open-matrix drainage mats.
Chemical floor treatments work either by etching microscopic pores into mineral-based tiles or by applying a topical, grit-infused clear sealant across the surface. Acid-based etching treatments react with the silica in porcelain and ceramic, creating microscopic suction cups that dramatically increase traction without leaving a visible plastic film. Topical coatings, often polyurethane or acrylic suspensions containing micro-beads, provide a textured finish on fiberglass, acrylic, and natural stone. While etchings can last for several years, topical coatings eventually wear thin in high-traffic zones and require stripping and recoating every two to three years.
Drainage mats provide a physical barrier between wet feet and slippery floors. Unlike conventional bath rugs with closed rubber backings, drainage mats feature an open weave or slatted design that allows water to pass through to the floor beneath, keeping the foot-contact surface dry. Rubber or PVC drainage tiles can be trimmed to fit inside the shower basin or across the exit zone. However, these mats must be lifted frequently to prevent mold growth and soap accumulation on the floor below.
- Etching Treatments: Best for glazed ceramic and porcelain. Permanent micro-texture changes that do not peel, but require careful application to avoid dulling glossy tile patterns.
- Grit Coatings: Best for acrylic tub pans and fiberglass shower bases. Creates an aggressive non-slip texture, but requires reapplying once heavy foot traffic wears down the grit layer.
- Slatted Teak or Bamboo Mats: Best for transitional dry areas outside the tub. Provides rigid footing with natural moisture resistance, but requires adequate ground clearance and periodic oiling.
- Perforated PVC Mats: Best for inside the shower stall. Allows continuous drainage away from feet, but requires weekly washing to prevent slime buildup on the underside.
Correct Placement for Threshold Transition Strips
The doorway threshold between a bathroom and an adjoining hallway is a frequent site of trips and stumbles. This issue arises because bathroom subfloors are often built higher than adjacent floors to accommodate mud beds, mortar, and thick tiles. A height difference of even 0.375 inches creates a hard lip that catches toes, particularly for individuals who shuffle or walk with a reduced stride height.
To eliminate this tripping hazard, replace abrupt step-down saddles with beveled transition strips. The Americans with Disabilities Act standards provide a solid benchmark for residential safety: vertical changes in floor level up to 0.25 inches can remain flat, but changes between 0.25 inches and 0.5 inches must be beveled with a slope no steeper than a 1:2 ratio. For height differences greater than 0.5 inches, an inclined ramp transition spanning several inches across the doorway is necessary to ensure an easy passage.
Installing a threshold strip correctly requires securing it directly to the concrete slab or wooden subfloor beneath the finish flooring. Follow this direct installation process:
- Clear the existing threshold down to the subfloor, removing any dried adhesive, crumbling mortar, or protruding nails.
- Measure the doorway width at the floor level between the door jambs, cutting the transition reducer to fit with no more than an 0.0625-inch gap at each side.
- Dry-fit the transition strip to verify that the bevel makes contact with both the bathroom tile and the adjacent flooring without rocking or flexing.
- Drill pilot holes into the subfloor using a masonry bit for concrete or a twist bit for wood, then insert plastic anchors if fastening into masonry.
- Apply a continuous bead of polyurethane construction adhesive along the underside of the transition strip to prevent creaking and moisture infiltration.
- Drive countersunk screws through the strip into the pilot holes until the screw heads sit completely flush with the top surface of the transition.
Routine Upkeep to Prevent Soap Residue Buildup
Even the most aggressive non-slip tiles and textured grab bars lose their effectiveness when coated with soap residue. Soap scum forms when the fatty acids in bar soaps interact with calcium and magnesium minerals in tap water, producing an insoluble white film. Over time, this film combines with shed skin cells, residual body wash, and hair conditioner to create a lubricated layer that significantly reduces surface friction.
Standard household dusting or light rinsing will not cut through this bonded film. To keep walking surfaces safe, clean shower pans and tub floors every 7 to 10 days with cleaners specifically formulated to break down calcium stearate and magnesium stearate. Avoid bleach-only solutions for this task: while chlorine bleach sanitizes mildew, it lacks the acidic surfactants needed to dissolve mineralized soap crusts.
For ceramic, porcelain, and fiberglass surfaces, use a mild citric acid or sulfamic acid cleaner. These acids dissolve mineral bonds without damaging the tile glaze or clouding acrylic finishes. Spray the cleaner liberally across the floor and allow it to dwell for 8 to 12 minutes to soften the residue before agitating the surface with a stiff, non-scratch nylon scrub brush. Rinse the area thoroughly with hot water to wash away dissolved minerals, and finish by pulling a rubber squeegee across the surface to remove standing water.
Bar soaps formulated with animal fats or heavy plant oils accelerate the formation of soap scum. Switching to liquid body washes or synthetic detergent cleansing bars significantly reduces mineral buildup. If you live in an area with municipal water hardness exceeding 7 grains per gallon, installing a whole-home or shower-head water softener can substantially reduce the speed at which slippery films form on wet surfaces.
Common Mistakes
Homeowners often attempt bathroom safety updates without accounting for mechanical stresses and environmental conditions. The following mistakes routinely compromise fall prevention efforts:
- Using Towel Bars as Grab Rails: Standard towel rails are held in place by small setscrews resting against thin zinc brackets. They are engineered to hold hanging cloth, not human weight, and will instantly shear away from the wall when pulled.
- Overlapping Conventional Bath Rugs: Layering plush fabric rugs over tile floors without integrated, non-skid rubber backing creates a movable slip surface. If the rug moves under lateral foot pressure, it acts like a sled on polished tile.
- Ignoring Suction Mat Undersides: Leaving suction-cup rubber mats attached to the tub basin floor indefinitely traps water. Mildew forms rapidly beneath the cups, softening their grip and turning the underside into a slick, sliding plane.
- Securing Grab Bars with Drywall Toggles in Wet Areas: While toggle bolts can support static weight in dry drywall, moisture often penetrates around screw holes in shower enclosures. This moisture softens the gypsum core over time, eventually causing the anchor to pull through the wall.
Next Steps
Begin your bathroom safety updates with a straightforward friction check. Walk through your wet zone with damp feet to identify where your foot slips, where you naturally reach for balance, and where water puddles after a normal shower. Measure all height variations across your doorways and check the backing material of every floor mat currently in use.
Next, map out the layout for at least two wall-anchored grab bars: one vertical bar positioned at the entryway of the tub or shower frame to aid the step-over motion, and one horizontal or angled bar along the back wall to provide continuous stability while washing. Use an electronic stud finder to locate framing members behind the shower wall. If your layout requires anchoring directly into tile without studs, source specialized hollow-wall mounting kits rated for bathroom fixtures.
If you or a family member deal with significant balance limitations, muscle weakness, or joint pain, consider scheduling an assessment with a licensed occupational therapist. An occupational therapist can evaluate your specific range of motion, stride height, and grip strength, providing personalized installation heights and layouts that address your unique physical requirements.